Filtrar y ordenar

Retro Microphones for Timeless Sound
Vintage Style Meets Modern Performance
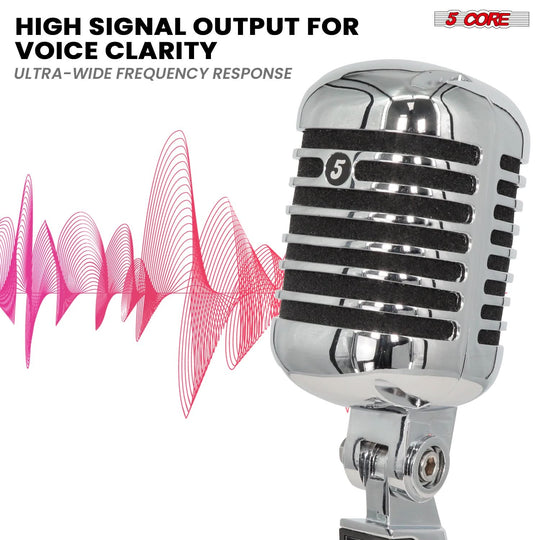
There’s something magical about the look and sound of a retro microphone. Its classic design captures the golden era of performance — while modern technology ensures clarity and reliability for today’s artists.
Whether you’re performing live, recording vocals, or giving your stage setup a nostalgic touch, 5 Core retro microphones blend vintage aesthetics with professional audio quality.
According to SoundGuys, dynamic and wired microphones remain the top choice for singers because they deliver powerful, distortion-free sound. That’s why our vintage microphones are more than a statement piece — they’re a performance-ready tool built to last.
Why Choose a Retro Microphone
The retro microphones are more than a nod to the past — they are a celebration of timeless design enhanced by today’s cutting-edge technology. Here’s why people are choosing Retro Vintage Mics-
Authentic Warmth, Iconic Sound: Experience the unmistakable richness and warmth that defined classic recordings. Our custom-tuned dynamic capsules recreate that analog depth and smooth tone that artists from the golden era of music were known for. Whether you’re crooning old-school jazz or belting modern rock, your voice will sound full, natural, and expressive.
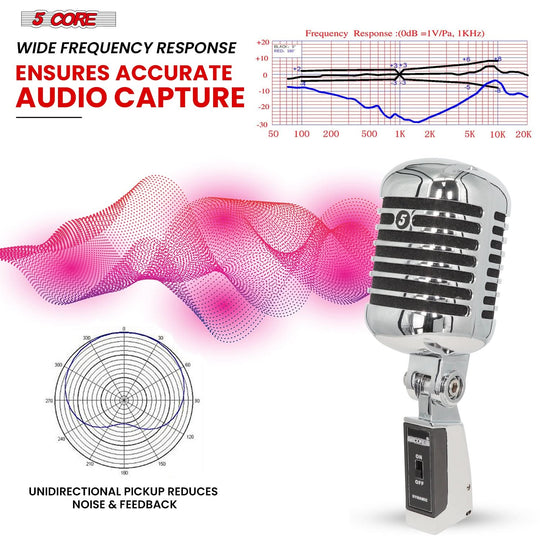
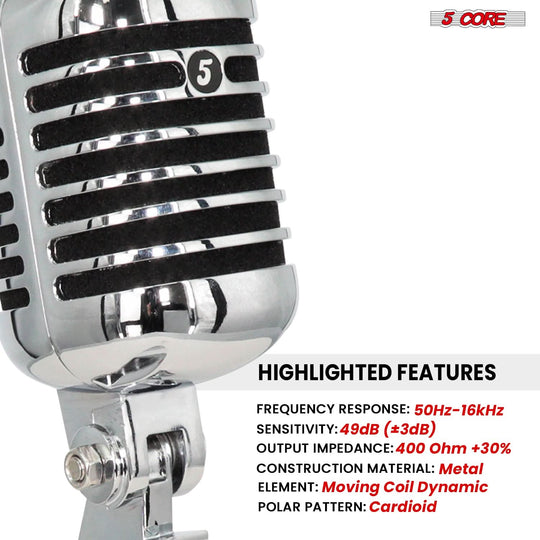
Superior Noise Isolation: Each microphone features a cardioid pickup pattern that focuses on your voice while minimizing background noise and feedback. This ensures crystal-clear audio — even in live environments or studio sessions with multiple sound sources. A cardioid pattern “rejects background noise” and thus improves the signal of the main source.
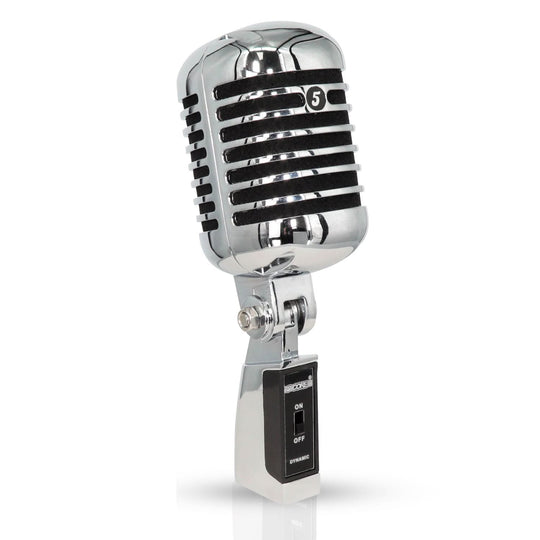
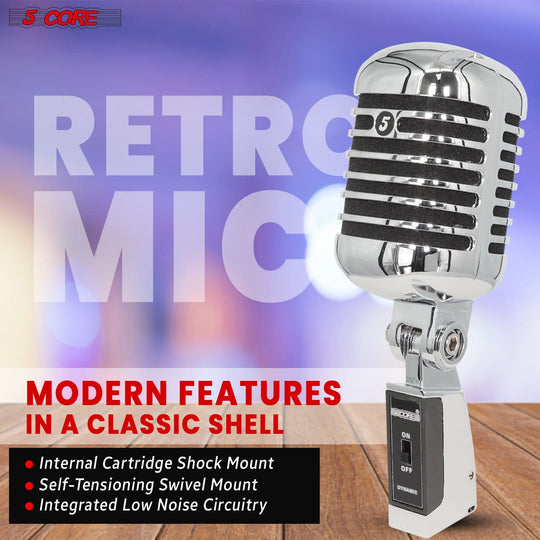
Unmatched Stage Presence: Retro microphone doesn’t just sound good — it commands attention. The gleaming chrome body, signature grille, and bold vintage contours make it the visual centerpiece of any performance. Step on stage, and your mic becomes part of your persona.
Built for Every Occasion: Whether you’re performing live, hosting an event, recording a podcast, or adding a touch of classic flair to your décor — this microphone delivers. It’s a versatile performer designed for singers, emcees, content creators, and vintage-inspired venues alike.
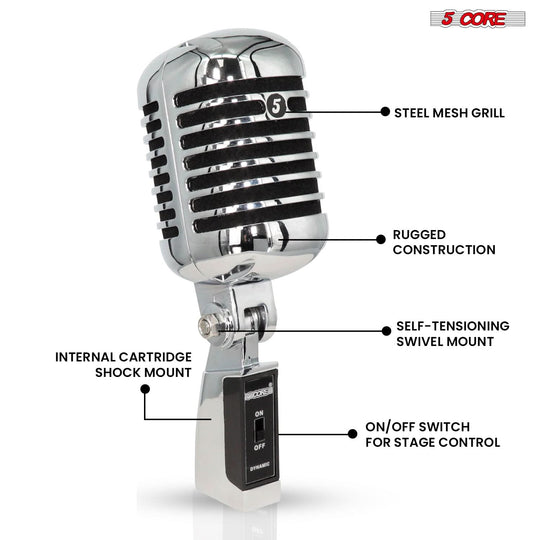
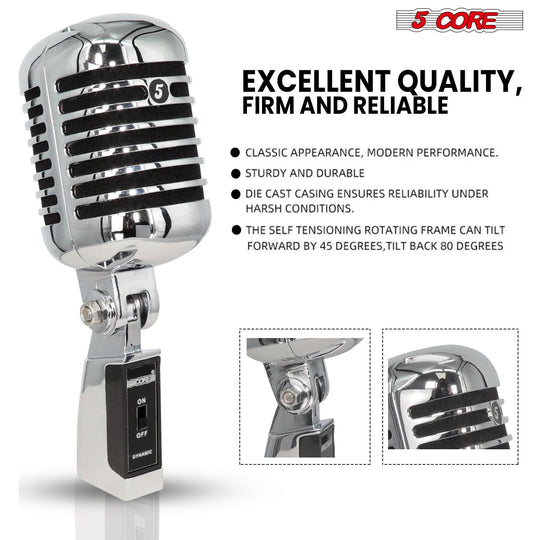
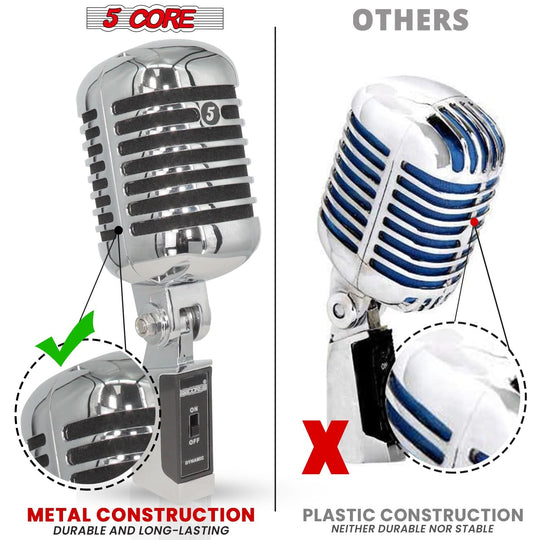
Heritage Meets Durability: Each vintage microphone for singing is crafted with premium zinc alloy, tested for reliability and endurance. Designed to last through tours, studio sessions, and years of use, it’s a true professional companion that blends heritage with innovation.
Retro Microphone vs. Modern Vocal Mic – Which Wins?
The debate between retro microphones and modern vocal mics often comes down to more than just looks—it’s about tone, performance, and purpose. Both styles have unique characteristics that cater to different needs in the studio and on stage.
Sound Character - Retro microphones, often modeled after classics like the RCA Type 77‑DX or similar designs, are known for their warm, rich, and vintage tone. They colour the sound in a pleasant way—perfect for jazz, blues, and classic rock. On the other hand, modern vocal microphones, especially dynamic and condenser mics, focus on clarity and precision, making them ideal for pop, hip-hop, and live performance setups where detail and fidelity matter most. Source
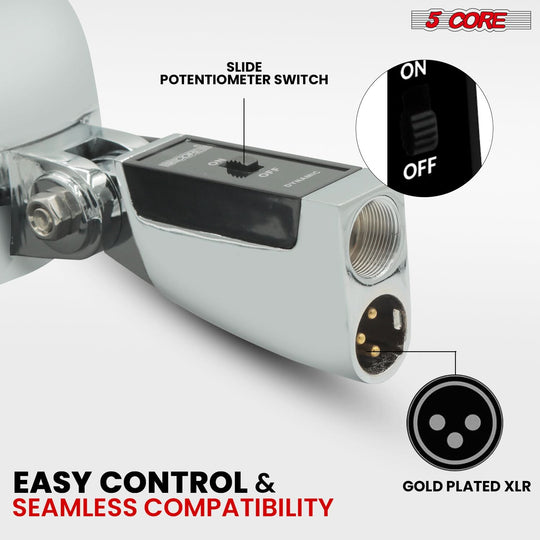
Build & Connectivity: Most retro microphone for singing feature sturdy all-metal housings and use XLR connections, ensuring compatibility with modern audio interfaces and mixers. However, their heavier build may limit mobility. Modern microphones, while also using XLR, often feature lightweight materials and ergonomic design, making them easier for touring artists or stage performers.
Aesthetic Appeal: The visual presence of a vintage microphone adds instant nostalgia and stage charisma—making it a favourite among performers who value style as much as sound. Modern mics, though less visually striking, are designed for efficiency and minimalism, often blending seamlessly into professional studio environments.
Use Case & Versatility: If you’re after a specific, warm tone or a retro aesthetic for your music videos or live shows, a retro microphone is the way to go. For versatility, modern dynamic or condenser microphones provide broader frequency response and adaptability across genres. For example, in live settings, dynamic mics tend to handle high sound-pressure levels and background noise more effectively. Source
The Verdict: Neither truly “wins.” It depends on what you value—character vs clarity, style vs precision. Many vocalists even keep both: a vintage mic for its unique flavour and a modern XLR microphone for reliability and control.
How to Set Up Your Retro Microphone: Step-by-Step Guide
Setting up a retro microphone for singing might look simple, but getting the best possible sound requires a few key steps. Whether you’re preparing for a live gig, podcast, or recording session, following the right setup process ensures that your vintage or retro-style mic performs at its best.
Step 1: Gather Your Essentials
Before you begin, make sure you have:
-
Retro Microphone (wired or XLR type)
-
XLR cable (balanced cable for clean audio signal)
-
Microphone stand (boom or straight type, depending on your preference)
-
Audio interface or mixer with XLR input
-
Pop filter or windscreen (optional but helpful for vocals)
Tip: Always use a quality XLR cable to minimize noise interference and maintain signal clarity.
Step 2: Mount the Microphone Securely
-
Attach the microphone clip or mount to the stand.
-
Carefully screw the retro microphone into the clip or cradle.
-
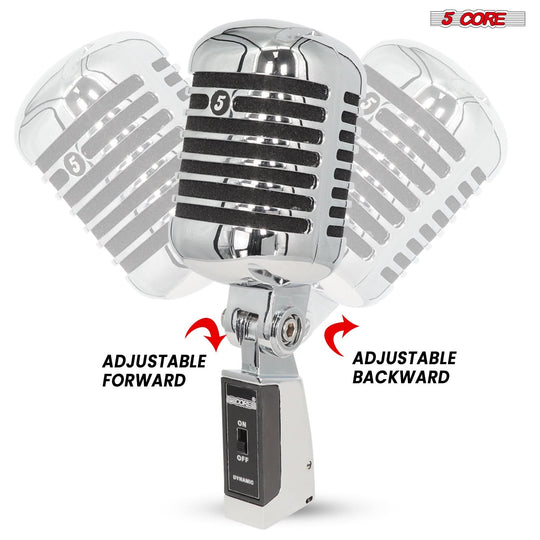
Adjust the height and angle to align with your mouth or instrument.
Visual appeal: Retro microphone for singing are often heavier due to their metal build—make sure your stand base is stable enough to handle the weight.
Step 3: Connect the XLR Cable
-
Plug the female end of the XLR cable into your microphone.
-
Connect the male end to your mixer or audio interface.
-
Ensure the connectors click firmly into place for a secure fit.
Note: For microphones that require phantom power (48V), check your mic’s specifications first. Most dynamic retro microphones do not need phantom power, but vintage condenser mics might
Step 4: Adjust Input Levels
-
Turn on your mixer or interface.
-
Gradually increase the gain/trim while speaking or singing into the mic.
-
Keep an eye on input meters to avoid distortion (stay within the green to light-yellow range).
Pro Tip: Retro mics often have lower output levels—boosting the gain slightly helps without adding too much noise.
Step 5: Fine-Tune Your Sound
Experiment with:
-
EQ settings: Slight mid-range boost enhances vintage mic warmth.
-
Compression: Keeps your vocals smooth and consistent.
-
Reverb: Adds depth without losing the natural vintage character.
Bonus: Retro microphones shine when used with tube preamps or analog gear, enhancing that classic tone many singers love.
Step 6: Test and Position for Performance
-
Do a short soundcheck—record or monitor live audio.
-
Adjust the distance (typically 4–8 inches from the mic) for the desired tone.
-
Angle slightly off-axis if plosives (pops from “P” and “B” sounds) occur.
Step 7: Maintain Your Retro Microphone
-
Store it in a padded case to prevent scratches or dust buildup.
-
Wipe with a dry microfiber cloth after each session.
-
Avoid moisture and direct sunlight exposure.
Care tip: For chrome or metallic finishes microphone for singing, use a soft cloth and non-abrasive cleaner to preserve the shine.
Setting up a retro microphone isn’t just about connecting cables—it’s about understanding how to bring out its signature tone. With the right setup, your vocal microphone can capture that warm, classic sound that makes every performance timeless.
Whether you’re using it as a singing microphonepan>, podcast mic, or stage statement piece, proper setup ensures your retro or vintage microphonepan> not only looks iconic—but sounds exceptional.
Retro Microphone FAQs
Question: What is a retro microphone?
Answer: A retro microphone is a vintage-style vocal mic inspired by classic designs from the 1940s–1960s. These mics often feature chrome finishes, curved grilles, and analog-style tone, delivering both timeless looks and warm, character-rich sound. Many modern retro mics use XLR connections and updated components for compatibility with today’s audio systems.
Question: pan>"">n>Are retro microphones good for singing?</span></h3>
Answer: Yes. Retro microphones are popular among singers who want a warm, classic sound with visual appeal. Their dynamic microphone capsules handle high sound pressure levels, making them ideal for live vocals, rockabilly, jazz, or vintage-style performances.
Question: Do retro microphones use XLR cables?
Answer: Most retro microphones use a standard 3-pin XLR connection, ensuring professional-grade audio quality and minimal interference. This allows easy integration with mixers, audio interfaces, and PA systems. Always use a balanced XLR cable for the cleanest sound.
Question: What’s the difference between a retro mic and a modern vocal microphone?
Answer: While both serve the same purpose, their design philosophy differs. Retro mics emphasize tone coloration and vintage aesthetics. Modern vocal microphones focus on flat response and accuracy.
If you want personality and style, go retro. For studio precision, modern dynamic or condenser mics may suit better.
Question: Can I use a retro microphone for podcasting or live streaming?
Answer: Absolutely. Many retro microphones with XLR output can connect to an audio interface for podcasting or streaming. Besides, they enhance the visual appeal of your setup while maintaining professional sound quality.
Question: Do retro microphones need phantom power?
Answer: Most retro-style dynamic microphones do not require phantom power. However, if your mic uses a condenser capsule, you may need to enable 48V phantom power from your mixer or interface. Always check the manufacturer’s specifications.
Question: How do I maintain a retro microphone?
Answer: Store it in a dry, dust-free case after use. Wipe with a soft, dry cloth—avoid moisture or chemical cleaners. Keep it away from direct sunlight and humidity. Proper care ensures your microphone lasts for years while keeping its shine and performance intact.
Question: Why do singers prefer vintage or retro microphones on stage?
Answer: Because retro microphones combine style, nostalgia, and sound character. They offer stage presence that complements genres like rock, swing, or blues, and their robust build handles energetic performances better than delicate condenser mics.n>


