
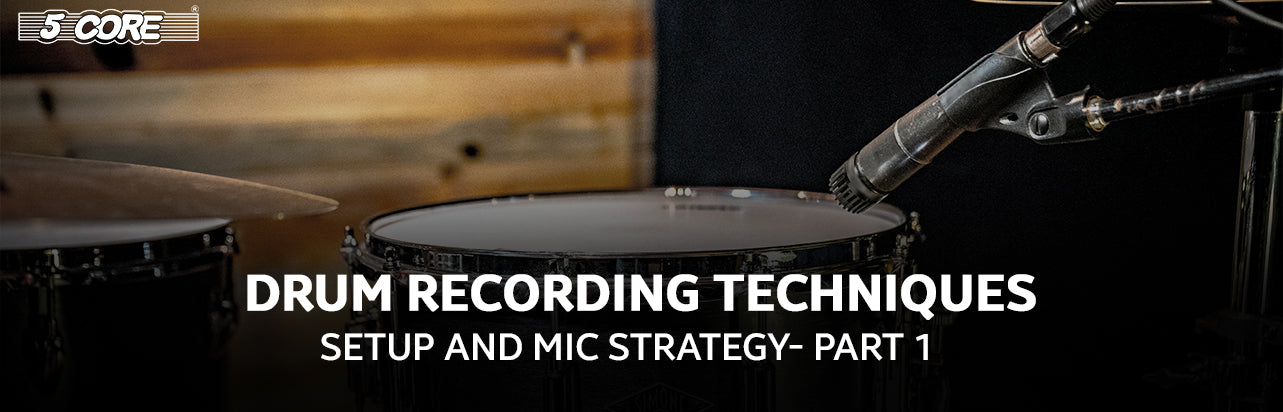
Recording drums can pose challenges for beginners trying to master microphone techniques, but fear not! 5 Core is here to show you how to mic drums like professionals.
Capturing the perfect drum sound requires patience and skill, as it's among the most challenging instruments to record. Despite the hurdles, your efforts will yield great results and audio character that is not possible to achieve using any software.
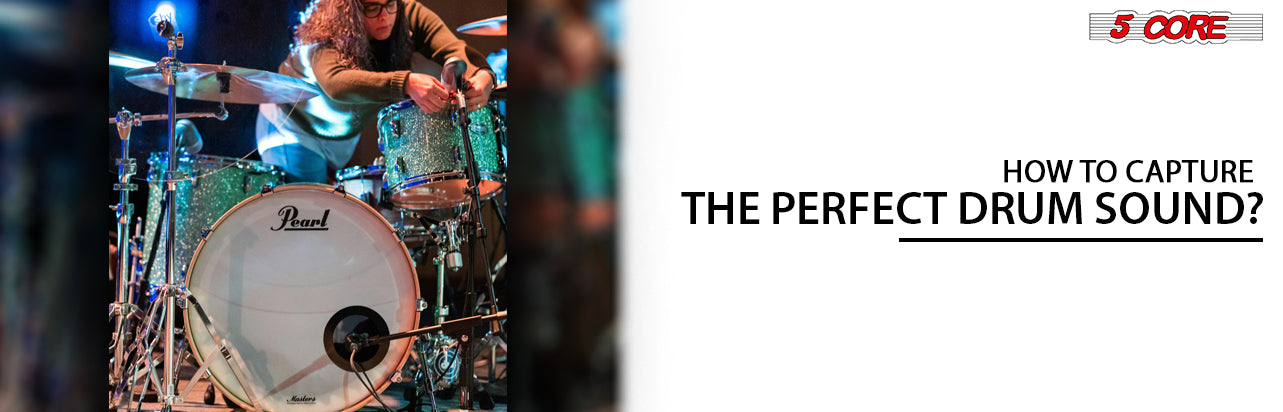
How to Capture the Perfect Drum Sound?
There are different options for capturing drum sound, which, of course, sounds more daunting. However, this is because most professional drummers choose one technique and then tweak it according to their preferences, resulting in another drum miking technique. It is advisable to start with a common drum recording technique, and once you become familiar with the basics, you can adjust them to suit your taste.
Setting Up Drums
Your drum setup plays the most important role in achieving professional recording quality. A poor drum setup will result in poor audio quality, regardless of the microphone's cost or the mic placement tricks you apply to record the drums. Ultimately, the drummer and the setup should be in top-notch condition before anything else.
Setting up and tuning drums is a genuine skill; it requires knowledge of music genres and the mechanism of a drum kit, coupled with good ears, to achieve professional-grade results. If you think you lack confidence in handling this task alone, it's advisable to seek help from someone who has experience in recording drums. And Remember to do some research beforehand and pay close attention to drum head types and the method of tuning. If your current drum heads are old, consider replacing them with a new one. This is because old drum heads are difficult to tune, and your journey must be smooth so you will feel confident enough to keep at it.
If excessive or undesirable resonance persists, even after replacing and tuning the drum skins, it might be a good idea to consider specialized drum-dampening products like 'Moongel.' This damper is designed to effectively address the additional resonance and is heavily used by drummers who prefer the dry sound. However, controlling the cymbal's tone can be tricky, even if you are unhappy with its current tone. To get the best and most satisfying audio from cymbals, the best you can do is to spend money on premium-quality cymbals. Therefore, a lesson here for a drummer is to consider allocating funds for decent-quality cymbals if you have a limited budget. Also a good drum microphone kit tooamplify the sound.
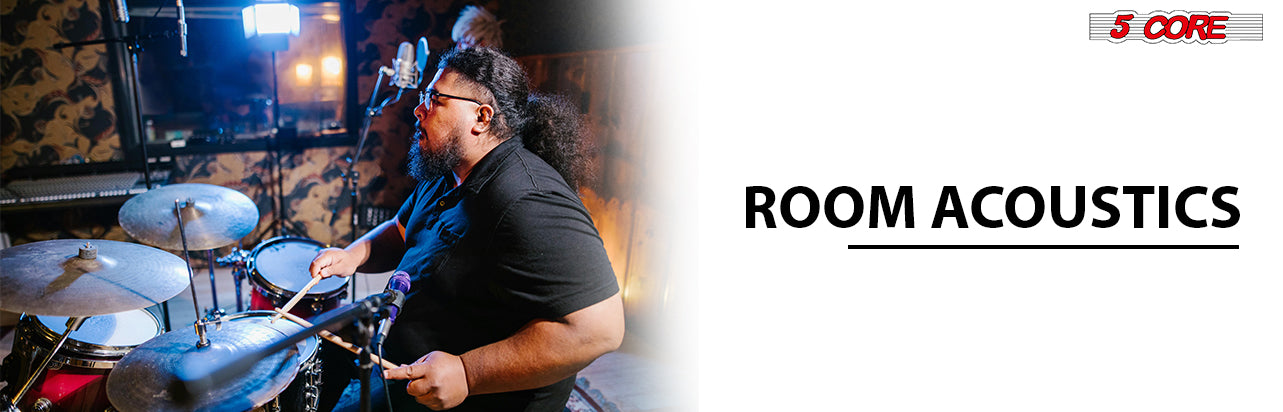
Room Acoustics
Once satisfied with the drum sound, the next important factor that influences the recording's final quality is the room or studio's acoustics. Two very different approaches are applicable here:
1. Embracing Natural Embracing: Great drum sound comes from a great sounding room, there's no second thought about it. It might surprise you, but often this space is not a sound proof professional studio. For instance, Led Zeppelin famously recorded drums in a stairwell for their one of the most successful album ' Led Zeppelin IV.' Using the natural rever, captured through strategically places microphones.
Deciding whether to embrace natural acoustics depends on personal preference, genre, and maybe a pinch of luck. Home recording environments generally offer less than-ideal acoustics, but if you are lucky and you come across an interesting-sounding space, you should utilize it and do an experiment.
2. Room Acoustics: Control Room Acoustics: If your studio acoustics are not that good, like ours, it's better to control the environment rather than embrace it. Now, this involves using soft materials or a specially designed kit. By using these, you can turn most average rooms into great studios for recording drum audio. Once you record the dry audio of the drums, the next thing you have to do is use special software to add characteristics to it.
Here, you can have the greatest control over your recording. You can change antything before making the final music tape. So, if you prefer control over your drum sound, love to do edits and your natural ambiance is not goof, the control room acoustic is the best way to go.
Microphones:
The equipment is set, the drums are finely tuned, and the room resonates beautifully. Now, it is time to capture your efforts using the right microphone setup technique. Depending on various factors, two distinct approaches must be considered when setting up microphones for drums.
1. Treating the Drum Kit as a Unified Sound Source:
First and foremost, this method is good only for great drummers in an acoustically excellent space. The concept is to treat the entire kit as one entity, using a minimal number of microphones. Typically, seasoned engineered opt for just two overhead microphones supplemented by additional close mics, often positioned on the kick and snare drums, to fill any sonic gaps. Similar approaches are used by bands like Led Zeppelin, as we have given the example earlier. This technique excels in capturing the drum kit's attack and dynamic range.
If you opt for this method, starting with the overheads is advisable. Most engineers prefer using either large or small diaphragm condenser microphones for drum recording, given their broad dynamic range and sensitivity. This allows them to effectively capture the kit's wide frequency range and dynamics. If you desire a smoother, high-end sound, ribbon mics are worth considering as an alternative.
The goal of positioning the overhead microphones for this purpose is to achieve a well-balanced representation of the entire kit. While there's no strict rule for placment, having some understanding of how cymbals resonate can help inform your decision.
Cymbals emit sound both above and below, while the hi-hat resonates horizontally. With this in mind, adjusting the overheads can help achieve a balance between drum and cymbal sounds. Placing the overheads between two and three meters above floor level, either behind or in front of the kit, can result in a balanced sound representation. You need dedicated mic for this, thus, it's better to invest in a drum microphone kit ehich has specially designed mic for cymbals.
A/B vs X/Y: A/B and X/Y are two popular microphone techniques for capturing the overall sound of a drum kit using overhead microphones. Here's a more detailed breakdown:
A/B (Spaced Pair): This technique involves positioning two microphones spaced apart, typically left and right of the drummer, pointing down towards the center of the kit. This approach offers a wider stereo image and captures more of the room ambiance, creating a more spacious drum sound.
X/Y (Coincident Pair): In this technique, two mics are positioned very close together, forming an X/Y pattern. This minimizes phasing issues but results in a narrower stereo image and less room sound captured. It provides a more focused sound at the center of the drum kit.
After capturing a good balance with overheads, you can add spot microphones to enhance specific drums. A kick drum microphone is essential for adding low-end weight, while a dynamic or condenser mic can emphasize the snare.
Close Miking a Drum Kit
Close miking provides distinct advantages over the minimal approach, particularly in less-than-ideal acoustics or genres that demand a tighter drum sound. This technique offers a drier, more isolated sound on each drum, offering greater control during mixing.
Here's a Breakdown of Close Miking for a Typical Drum Kit
Overheads: Begin by positioning your overheads closer to the kit to better capture the cymbals. If you are using the X/Y technique, place them directly above the snare drum, with each mic pointing left and right. The inherent phase coherence of X/Y becomes especially valuable when using multiple microphones on a single drum kit. If you opt for the A/B technique, pay close attention to potential phasing issues and adjust accordingly. Phasing problems can be identified by listening to a thin or weak sound on your mic. In such cases, flipping the phase inversion switch on one channel of your mixer or audio interface can sometimes resolve the issue.
Close Mickng a Drum Kit
Close miking of drum microphones provides distinct advantages over the minimal approach, particularly in less-than-ideal acoustics or genres that demand a tighter drum sound. This technique offers a drier, more isolated sound on each drum, offering greater control during mixing.

Here's a Breakdown of Close Miking for a Typical Drum Kit
Overheads: Begin by positioning your overheads closer to the kit to better capture the cymbals. If you are using the X/Y technique, place them directly above the snare drum, with each mic pointing left and right. The inherent phase coherence of X/Y becomes especially valuable when using multiple microphones on a single drum kit. If you opt for the A/B technique, pay close attention to potential phasing issues and adjust accordingly. Phasing problems can be identified by listening to a thin or weak sound on your mic. In such cases, flipping the phase inversion switch on one channel of your mixer or audio interface can sometimes resolve the issue.
Snare: The debate on dynamic vs. condenser mics for snare drums continues. Experimentation is key to finding the sound that suits your style and taste.
Mic Placement: Snare drums are often miked with two microphones- one positioned above the drum to capture the "crack" and another positioned below for more "fizz." When using two mics, be mindful of phase issues. Invert the phase on one channel to achieve a fuller sound.
Dynamic vs. Condenser Mics: Dynamic mics tend to capture more body and weight, isolating the snare from other drums. Condenser mics offer more detail and a crisp, punchy tone but may struggle with high sound pressure levels. Position the mic close to the rim for optimal harmonic complexity and at least 4 inches away to capture the entire sound with a clear attack.
Toms: Close miking toms are particularly common in genres like rock or metal, where a more focused and powerful drum sound is desired. While overheads can capture toms effectively, close miking allows for greater control over the individual tone and presence of each tom in the mix.
Dynamic microphones are a popular choice for toms due to their ability to handle high sound pressure levels and their tendency to produce a full-bodied sound. Condenser microphones can also be used on toms, offering a more detailed and nuanced sound, but due to their sensitivity, they may be more susceptible to damage from close miking. Experimenting with both microphone types is key to finding the sound that best suits your musical style.
Hi-Hat: While a well-positioned pair of overhead microphones will often adequately capture the hi-hat, some drummers or musical styles may require a more focused hi-hat sound. In these cases, a close mic can bring out the hi-hat's detail and crispness. A pencil condenser microphone is a common choice for close miking hi-hats due to its small size and ability to capture high frequencies well.
Position the mic 10-15 cm away from the edge of the hi-hat, pointing down toward the far side of the instrument, away from the snare drum. This placement helps to minimize spill from the snare while capturing the bright sound of the hi-hat.
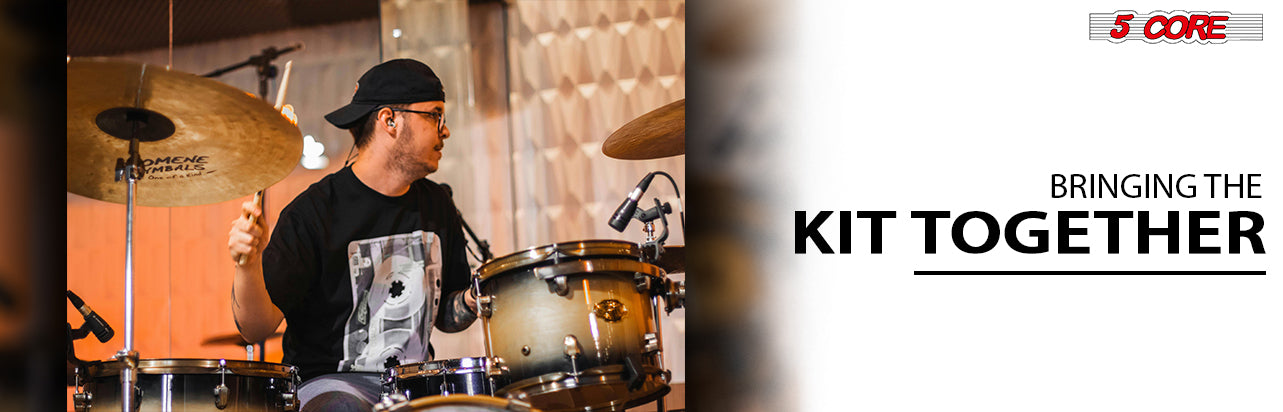
Bringing the Kit Together
After positioning your microphones, verifying phase relationships is crucial to prevent a thin or weak-sounding recording. Phase cancellation occurs when two microphones capture the same sound wave but with inverted polarity, essentially causing the waveforms to cancel each other out partially. Due to its substantial low-frequency energy, the kick drum often bleeds into other microphones. Begin by using the kick drum as your reference point, and listen carefully with high-quality headphones.
Mute or fader down all other tracks & solo the kick. Then, unmute or slowly fade in each remaining microphone channel one at a time, flipping the phase switch on that channel as you do. The setting that sounds fuller or more powerful indicates the correct phase relationship. Pay particular attention to the phase interaction between the kick and snare, as these form the rhythmic foundation of your drum sound. While overheads are important for capturing the overall cymbal picture, they become slightly less critical for phase coherence in a close-mic scenario. This is because you will likely apply a significant low-cut filter to the overheads during mixing, relying on the dedicated kick & snare microphones to provide the low-end punch.
Minimizing Phase Issues with the 3:1 Rule: When using microphones, the 3:1 rule serves as a valuable guideline to minimize phase cancellation. This principle states that the distance between any two microphones should be at least three times greater than the distance between each microphone and its intended sound source. By following this rule, the signal reaching the more distant microphone will be at least 12dB quieter than the closer microphone. This significant level difference helps mitigate the audible effects of phase cancellation, ensuring a cleaner and more cohesive drum audio.
Conclusion,
Close miking drums is a technique that provides more control and detail over the sound of each individual drum in the kit, as opposed to the minimal approach that relies on overheads for capturing the overall sound. It's particularly useful when room acoustics are less than ideal, when a tighter, more acoustics are less than ideal, or when a tighter, more focused drum sound is desired. However, it requires more microphones and can be more time-consuming to set up. Remember, the key to successful close miking is experimentation to find the right mic placement and techniques for your musical styles and a reliable drum microphone kit.

